Tendon Elevation#
The Tendon Elevation tool creates stations (detail elements) along the tendon and annotates the hight of the tendon according to the chosen referance.
Note
Check if the SOFiSTiK_Detail_TendonElevation and SOFiSTiK_Annotation_TendonElevation are in the project or in the ContentPack. If not, you can copy these families from any ContentPack in installation directory.
Create the section view where you want to annotate the tendon’s elevation and activate it.
Click Reinforcement tab
 Tag and Detail panel
 (Tendon Elevation)
  Select a tendon to create stations.
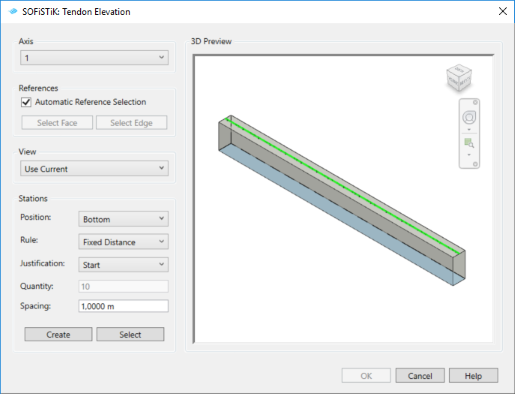
The Tendon Elevation dialog displays.

Select a grid as a reference axis for the stations, the layout rule and the position for the stations and click Create.
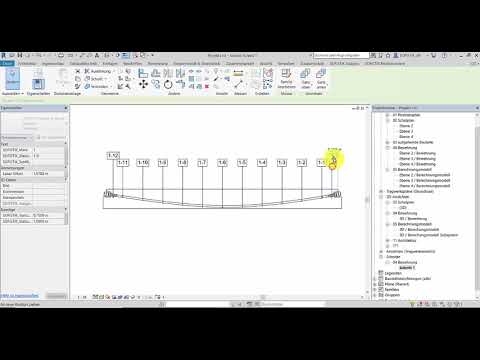
Click in view to place the station’s labels.
Click Reinforcement tab
 Tag and Detail panel
 (Tendon Elevation)
  Select a tendon to create annotations.
Select face(es) or edge(es) of the structure as referances for the hight calculation.
Click Select to choose for which stations the annotations should be created and click Finish.
Click OK in SOFiSTiK: Tendon Elevation dialog to create annotations.
Click in view to place annotations.
Note
In the preview, highlighted surface shows the chosen referance.
Tip
You can move/copy/delete stations according to your wish. The position of the stations in accordance to the tendon (top/center/bottom) will be adjusted while creating the annotations.
